Home / Blog / How to build a private label manicure kit
How to build a private label manicure kit
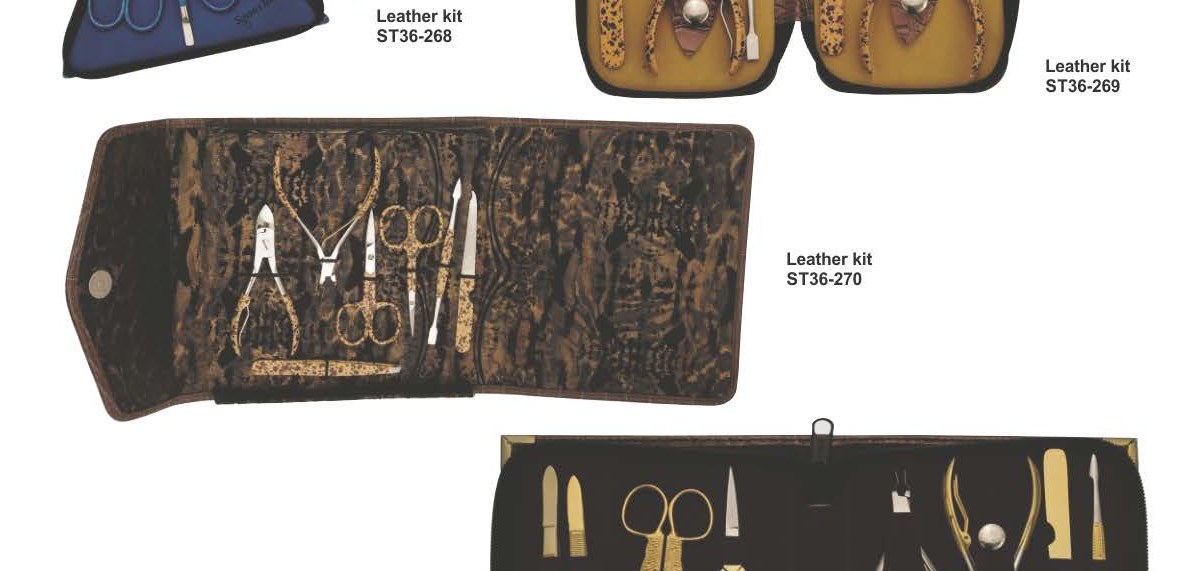
A manicure kit lets a brand sell several tools as one product at a higher price than the tools separately. Getting it right is mostly about planning: who the kit is for, what goes inside, and how it is packed.
Start with the customer and price point
A pocket kit for travel retail, a gift set for the holiday season and a professional kit for nail technicians are different products. Decide the customer and the shelf price first, because they decide how many tools fit in the kit and what quality each tool needs.
Choose the tools
Most manicure kits are built from the same core tools:
- Nail or cuticle scissors
- Cuticle nippers or a nail cutter
- A cuticle pusher or pusher and cleaner
- Tweezers
- A nail file
Larger kits can add a second pair of scissors, a foot file, a blackhead remover or a second pusher. Sourcing every tool from one manufacturer keeps the finish, steel and quality consistent across the set.
Pick the kit size
- Pocket and personal kits with 3 to 4 tools sell on price and size.
- 5 and 6-piece gift sets are the most common retail format.
- Larger professional or specialist kits, such as tweezer, skin care or barber kits, suit specialist shelves.
Choose the case and packaging
The case is often what the customer sees first. Common options include synthetic leather pouches, PVC zipper pouches, wooden boxes, frame kits and sealed blister packs for retail hooks. Your logo can be printed or embossed on the case, and individual tools can be laser marked.
What to send your manufacturer
- The tools in each kit, with catalogue references where you have them
- Finish for the tools (for example matt, bright or coloured)
- Case type and colour, and your logo artwork
- Quantities per kit design
- Your target market, so packaging and labelling suit it
Approve a complete sample kit before bulk production. See our manicure kits and packaging options.